Application guide

Claycasein application: a DIY clay floor, you can do this.

Claycasein application works without craft skills: a DIY clay floor is within reach for owners with no experience, you just have to dare. Here is the short version of our application guide in six steps, as of 10/2026. Substrate firm, dry, load-bearing and crack-free. Room temperature, no draughts, no direct sun, FFP2/FFP3 respirator when sanding and oiling. Work calmly and without time pressure.

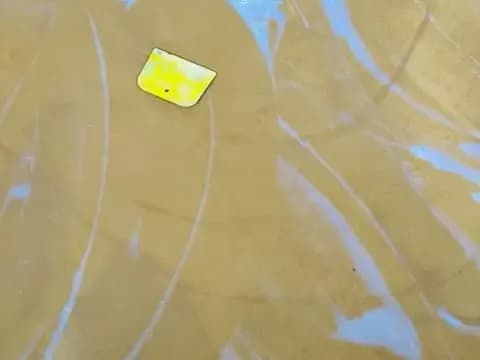
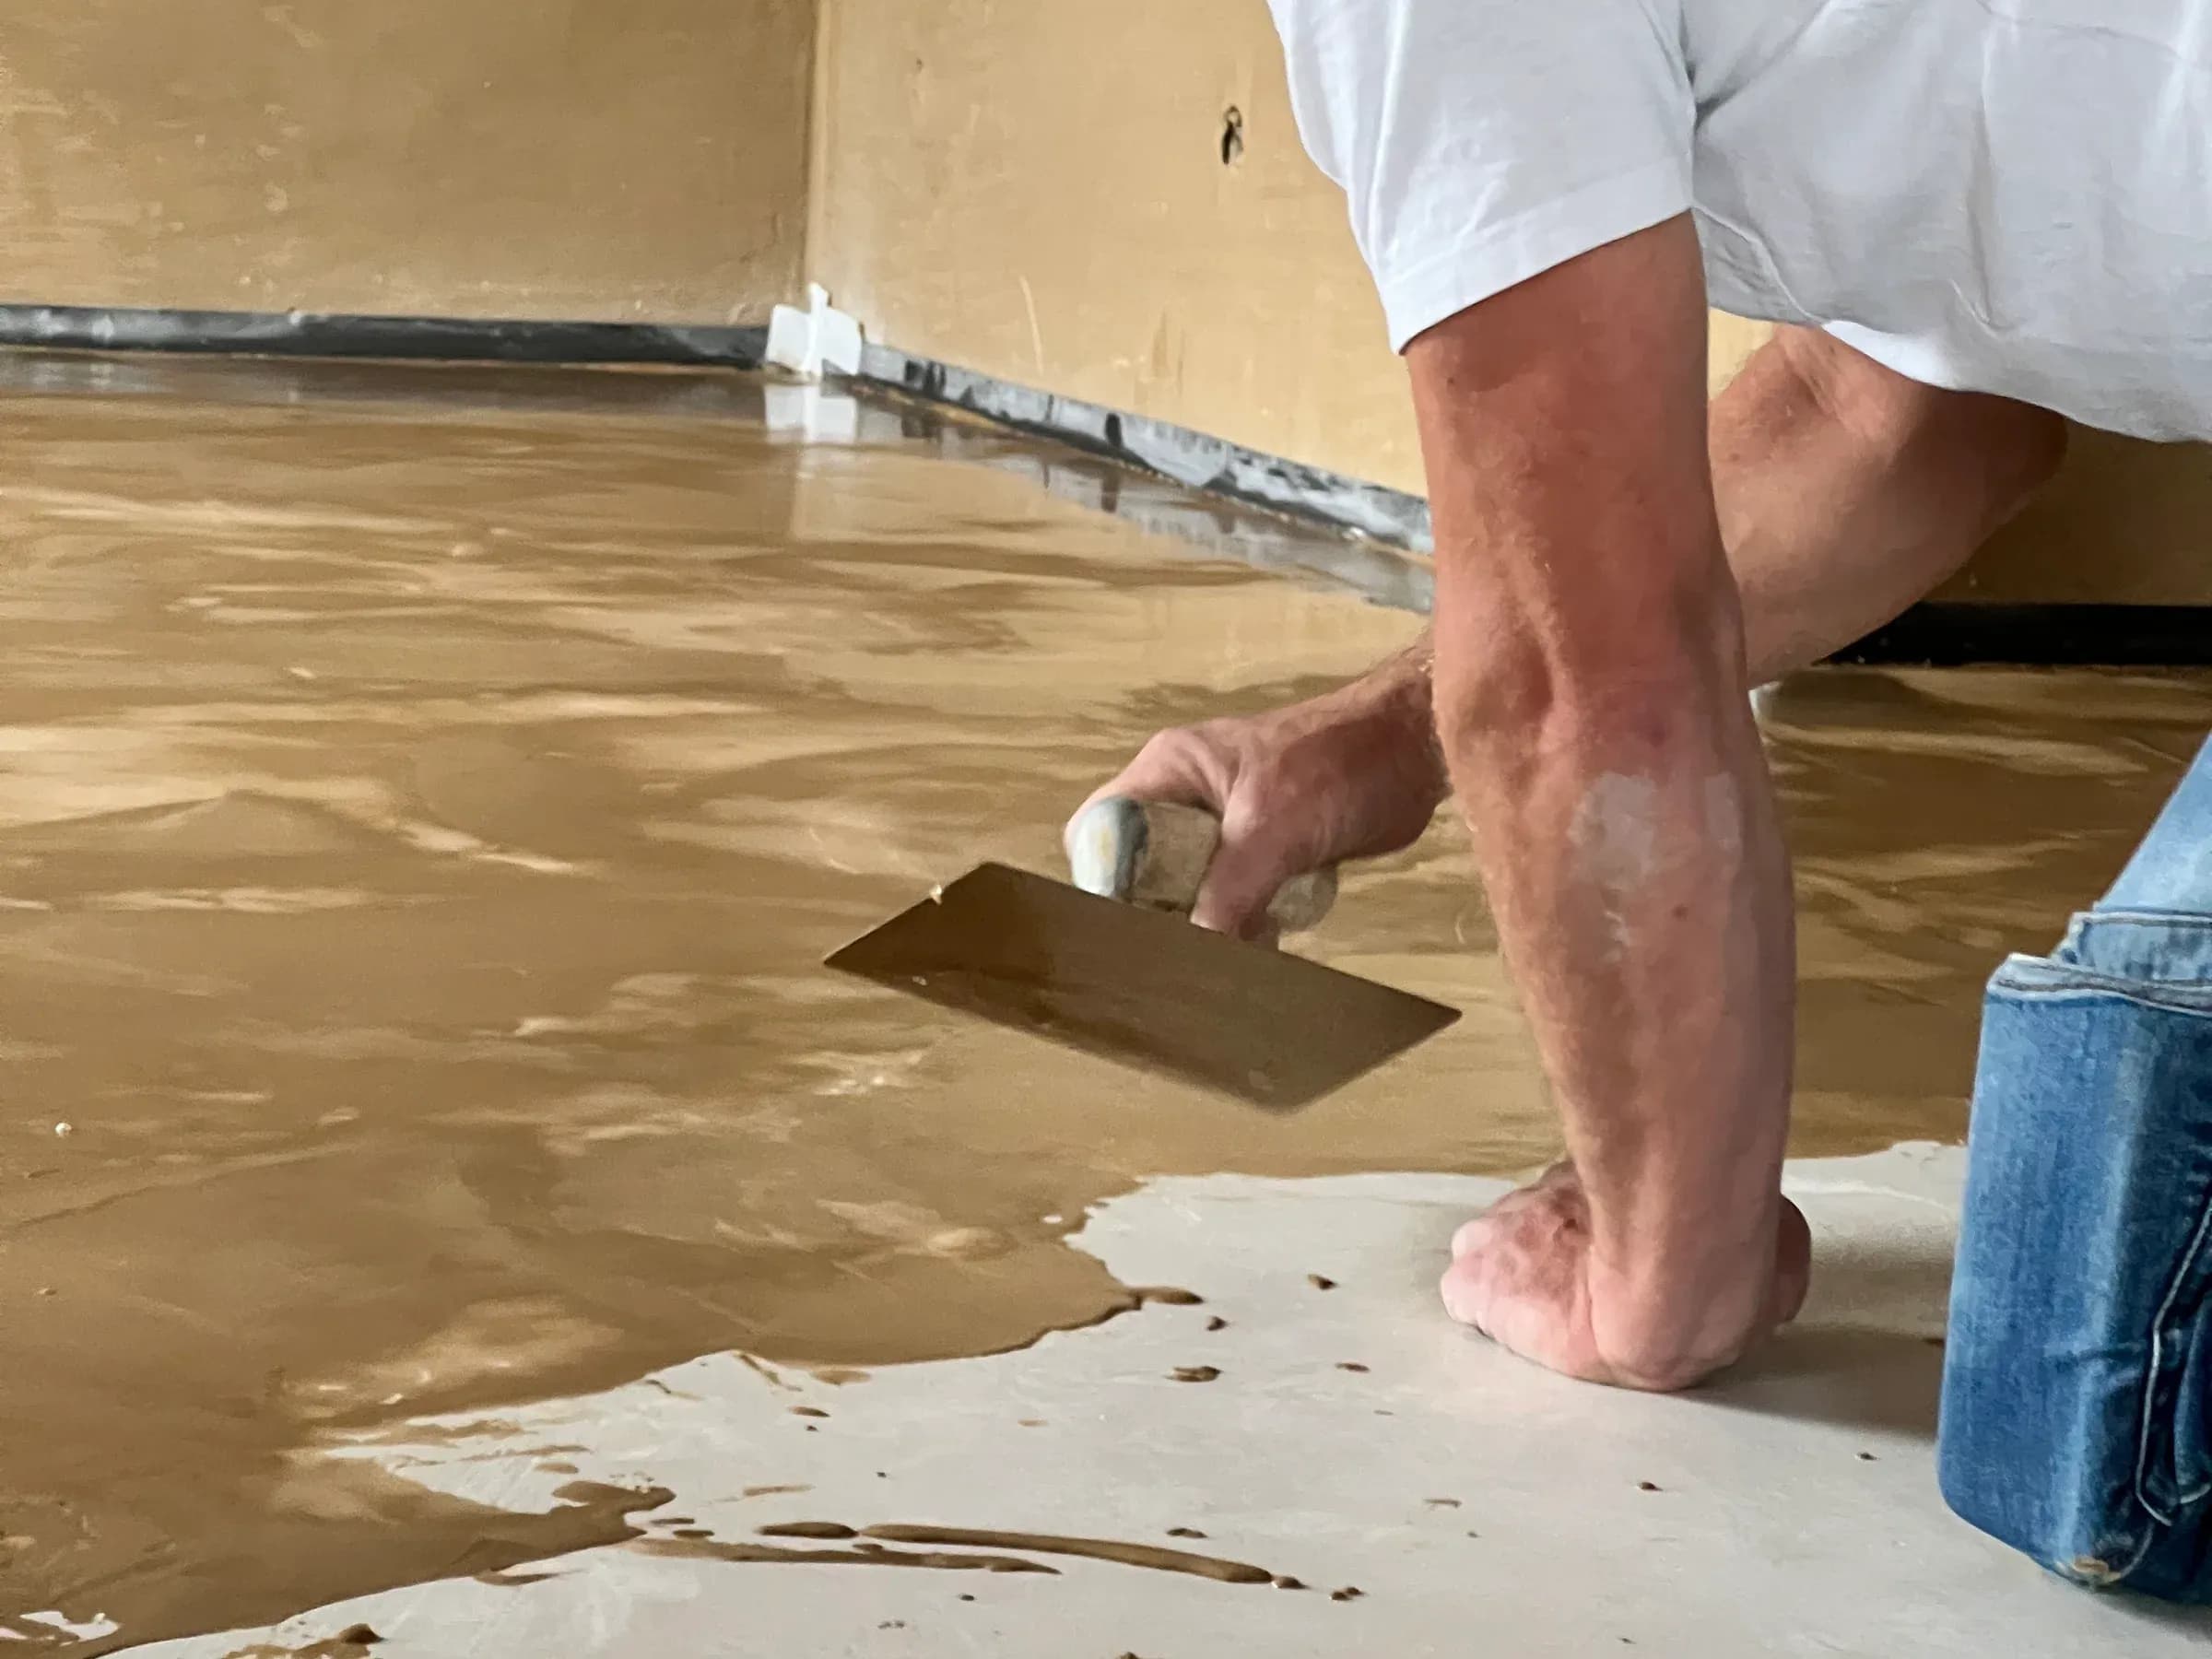
DIY clay floor: Claycasein Base is trowelled thinly onto the floor

Claycasein application at a glance

Claycasein is mixed with water, trowelled in 2 to 3 thin layers, sanded, oiled and waxed. The figures come from our application guide, as of 10/2026.

  • Water: approx. 360 ml per kg, let it rest for 30 minutes, then stir again slowly
  • Pot life: use the mixed material within about 3 hours
  • Layers: 2 to 3 layers of about 1 mm each, 8 to 24 hours drying per layer
  • Sanding: sanding mesh K220, FFP2 or FFP3 respirator
  • Oil and wax: approx. 0.12 to 0.15 l hard oil per m², carnauba wax emulsion 1 part concentrate to 3 parts water, then hard wax
  • Climate: 18 to 20 °C, no draughts, no direct sun, underfloor heating off
  • Afterwards: treat the surface gently for 4 to 6 weeks
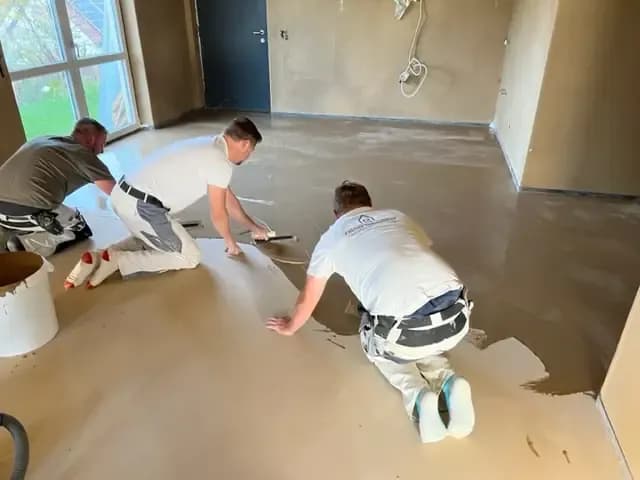
DIY clay floor: two owners applying the first coat of Claycasein to the floor
Six steps

DIY clay floor, step by step

Thin, repeated, patient. That is how the result turns out best. Every stroke of the trowel stays visible, every surface is unique.

First thin coat of Claycasein on the floor, about 1 mm per coat
Mix and trowel

Mix with water, let it soak for 30 minutes, stir again bubble-free at low speed. Keep stirring by hand while you work, taking the sediment with you. Apply thinly, about 1 mm per coat, almost to grain thickness. Let each coat dry for 8 to 24 hours, sand lightly, then the second and third coat.

max. 360 ml of water per kg · 2 to 3 coats · about 1,000 to 1,350 g/m²
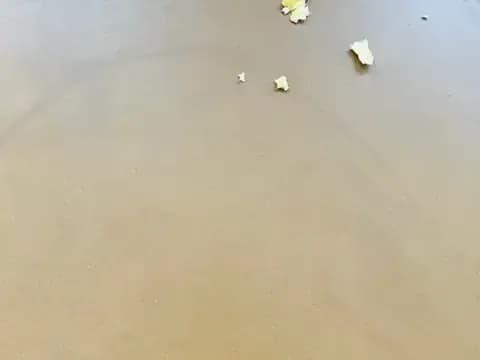
Lightly sanded Claycasein surface with K220 sanding mesh, before oiling
Sand

After drying, sand the surface lightly, level ridges, remove the sanding dust. Do not sand through, wear a mask. On walls and with more pressure use a plastic trowel, otherwise you get metal abrasion.

sanding mesh K220 · FFP2/FFP3
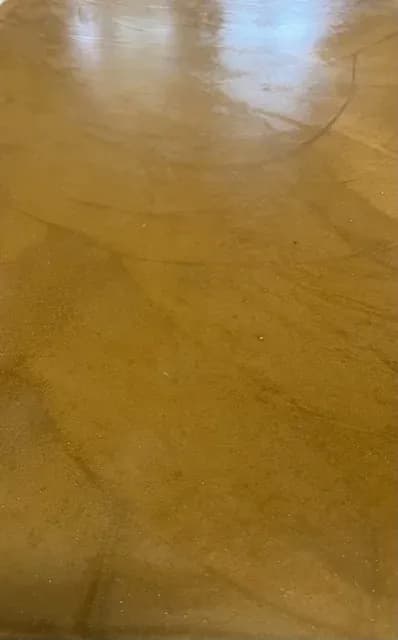
Claycasein surface saturated with hard oil, with a silky sheen
Oil

Saturate with hard oil. Push the oil with a plastic trowel or floor squeegee, do not scrape it off, no window squeegee. Pick up the excess, rub dry with a lint-free cloth, polish immediately with the brown pad. Best with two people: one oils, the second follows after about 5 minutes. No puddles.

about 0.12 to 0.15 l per m² · linseed oil cloths: fire hazard · ventilate well
Carnauba wax emulsion being spread on the Claycasein floor, before polishing
Carnauba wax emulsion

You receive a concentrate: 1 part concentrate to 3 parts water. Spread with a floor squeegee or plastic trowel, on walls with a brush. Let it work for a few minutes, pick up the excess, polish dry. No puddles, no runs on walls. Polish again once it has dried through.

for more durability you can repeat the step
Hard wax finish being polished into the Claycasein surface with the white pad
Hard wax finish

Apply thinly with the plastic surface trowel, polish in immediately with the white pad. Work in pairs: one applies, the other polishes right behind. Less is more: residues and edges otherwise dry white, especially in corners. Polish again vigorously after about 4 to 6 hours.

polishing pad white superfinish · no need to trowel every square centimetre
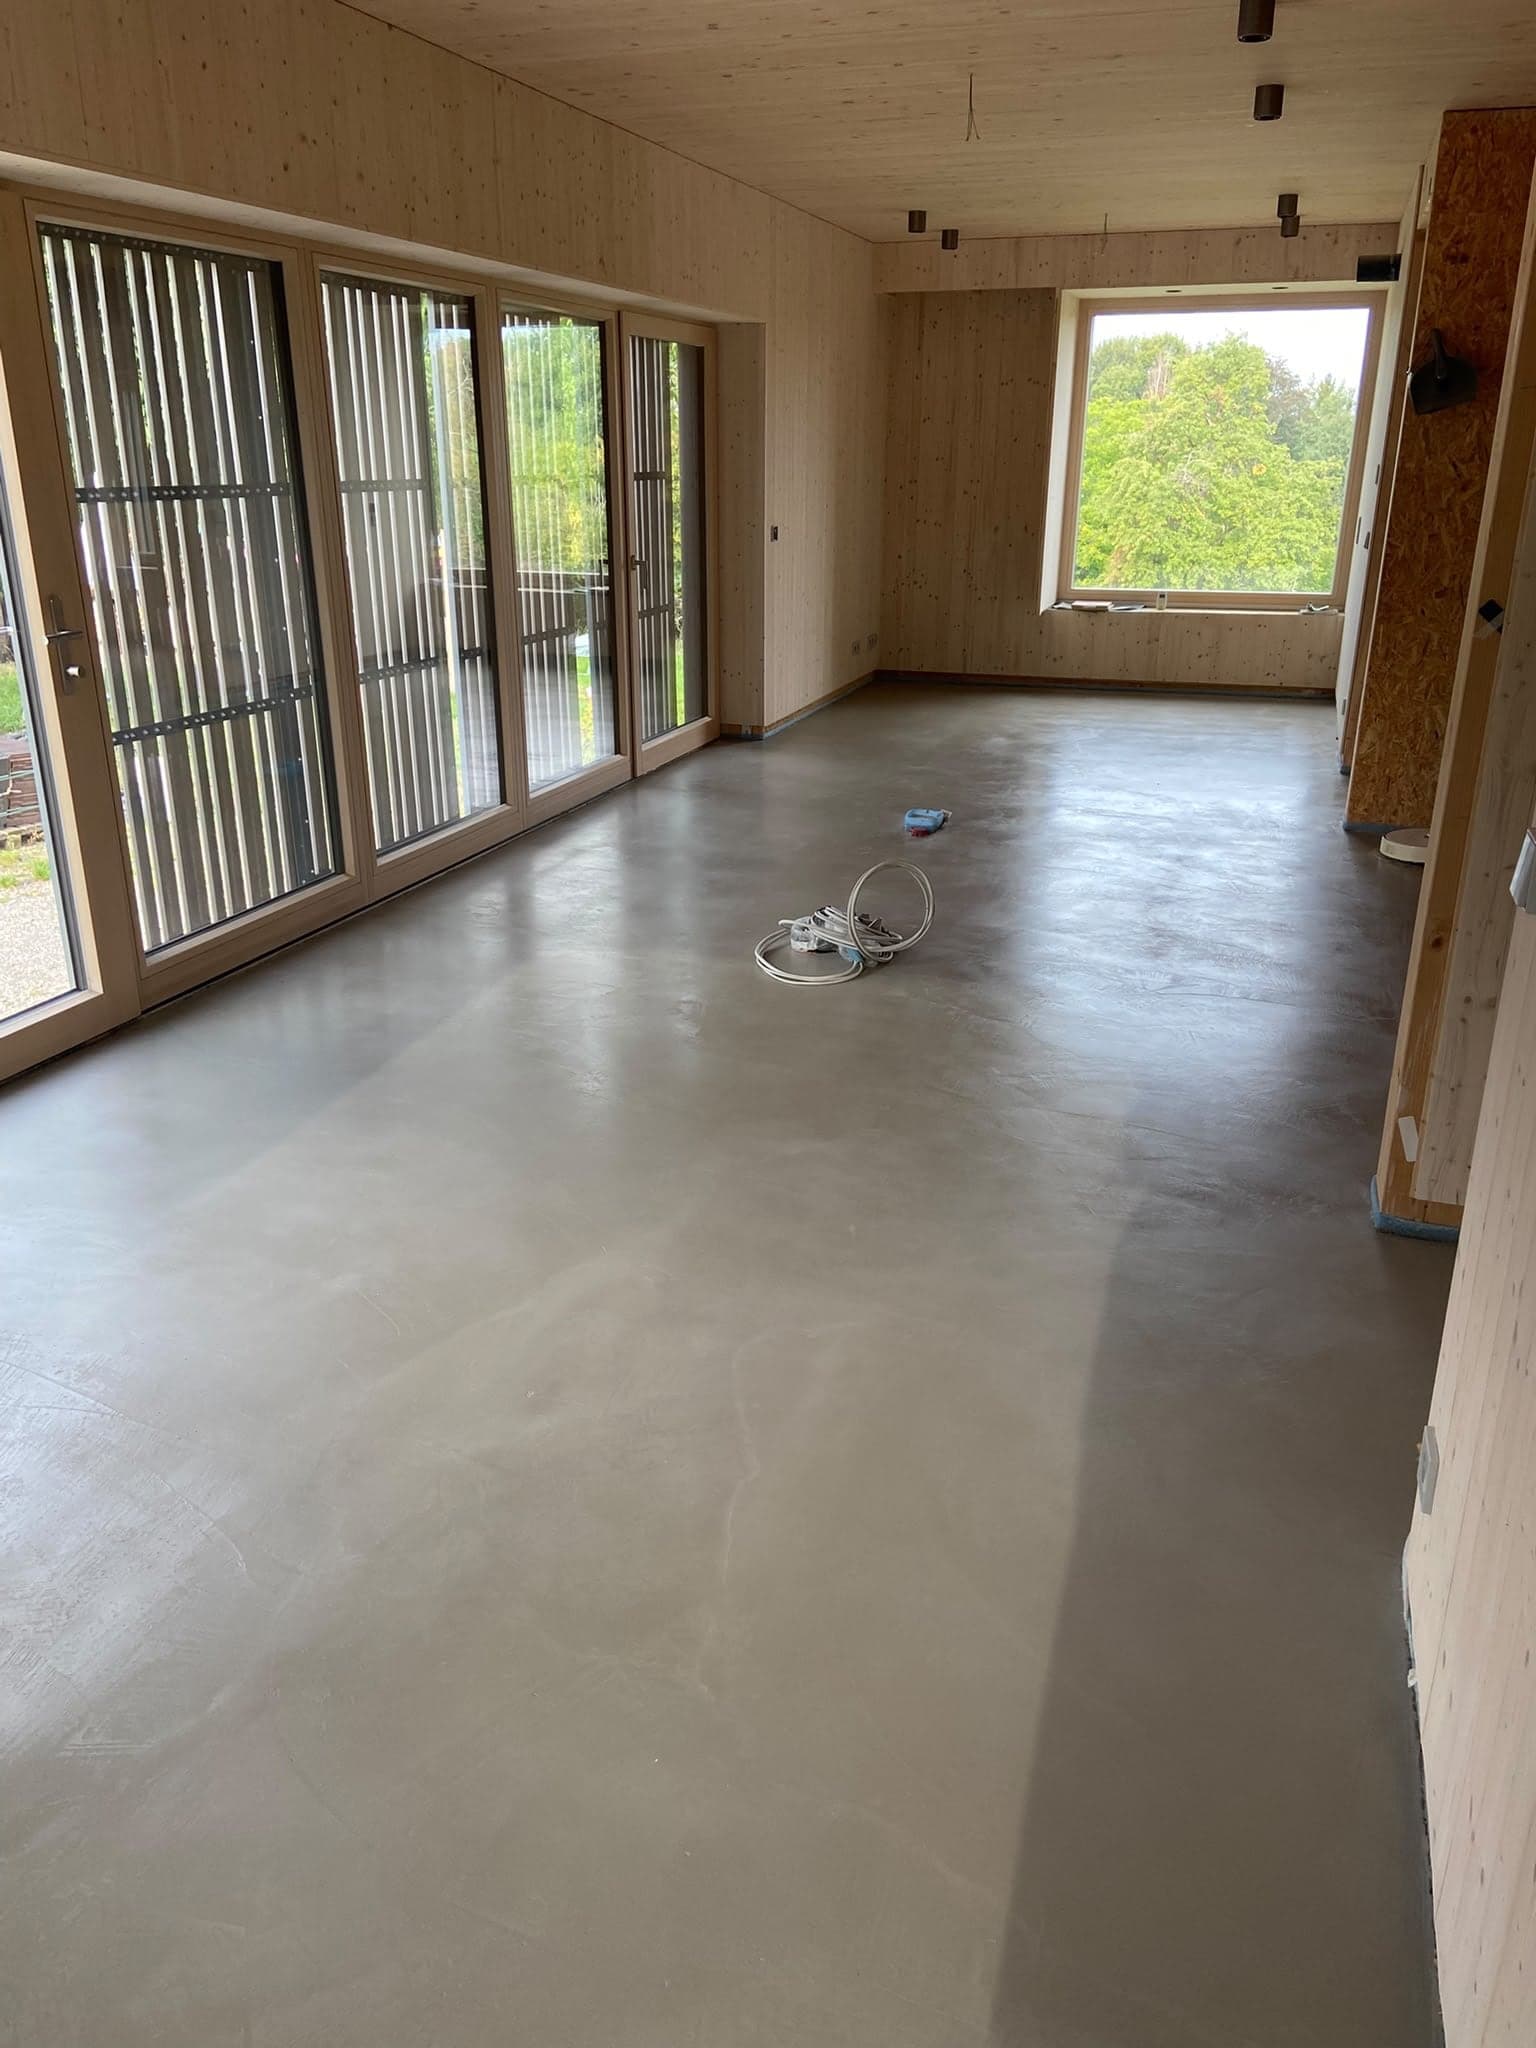
Finished Claycasein surface after oil and wax with a silky sheen, now go easy on it for 4 to 6 weeks
Done, then go easy

Go easy on the surface for 4 to 6 weeks until oils and waxes have cured. Cloudy, lively textures are typical of clay casein: this floor is alive. For carnauba wax and hard wax a heavy single-disc machine works, the steps before are better done by hand or with light machines.

maintenance: 2 tablespoons of concentrate in 5 l of mopping water

The essentials in brief

  • After adding water, let it soak for 30 minutes, start with max. 360 ml per kg and adjust, water demand varies with the pigment share
  • Keep stirring in the bucket, take the sediment with you, do not get plastic abrasion from the bucket into the material
  • Trowel thinly, about 1 mm per coat. Several thin coats give the best result
  • Oil generously, push instead of scraping, polish dry, never leave excess, not even in corners and edges
  • Remove masking tape immediately after each coat
  • Practise on a small area first, for feel and material consumption
  • For polishing, a small machine (Floorboy, about 15 kg) is enough, rentable, comes by parcel service
  • Use mixed material promptly, dry material keeps for at least 1 year
Downloads

Documents for download

Application guide, data sheet with test values, safety data sheet and price list as PDF, currently in German. In Danish there are an application guide and a safety data sheet for our customers of Havnens Haender. English documents will follow. The price list for pigments is in preparation.

Documents will follow shortly.

FAQ

Questions from the application

From our trials and our customers projects. Our recommendations are empirical values, application without warranty. Lay a test area first.

How much Claycasein do I need per square metre?

For a floor you need approx. 1,000 to 1,350 g of Claycasein Base per m², that is 2 to 3 layers. On clay screed roughly 2 kg per m² depending on the surface, on walls slightly more. The exact amount depends on the substrate and the way you work, so practise on a small area first. The finished layer is about 2 to 3 mm thick. Including oil, wax, pads and accessories, material costs from 25 m² upwards come to approx. 45 to 60 € per m², plus VAT and plus shipping. All single prices are in the price list, and we work out the quantities for your project in the quote.

Do I have to impregnate with oil?

Yes. On walls, wipeable surfaces have been made with the carnauba wax emulsion alone. But we recommend the build-up from our current application guide: hard oil, carnauba wax emulsion and hard wax finish. Oiling and polishing happen almost at the same time: one oils, the second picks up the excess after about 5 minutes and polishes dry. Never leave excess on the surface.

How long does drying take?

After mixing, let the material soak for 30 minutes. Let the primer and each coat dry for 8 to 24 hours, protected from sun and draughts. Then sand, then the next coat. After the hard wax finish, polish again vigorously after about 4 to 6 hours. Then go easy on the surface for 4 to 6 weeks until oils and waxes have cured. Use mixed material within about 3 hours: the casein keeps setting once water is added.

Can I mask adjacent surfaces?

Yes, with standard painters tape. But pull the tape off immediately after each coat while the compound is fresh. When mixing, make sure no plastic abrasion from the bucket gets into the material. Dry material keeps for at least 1 year. If material smells bad or rotten, do not use it.

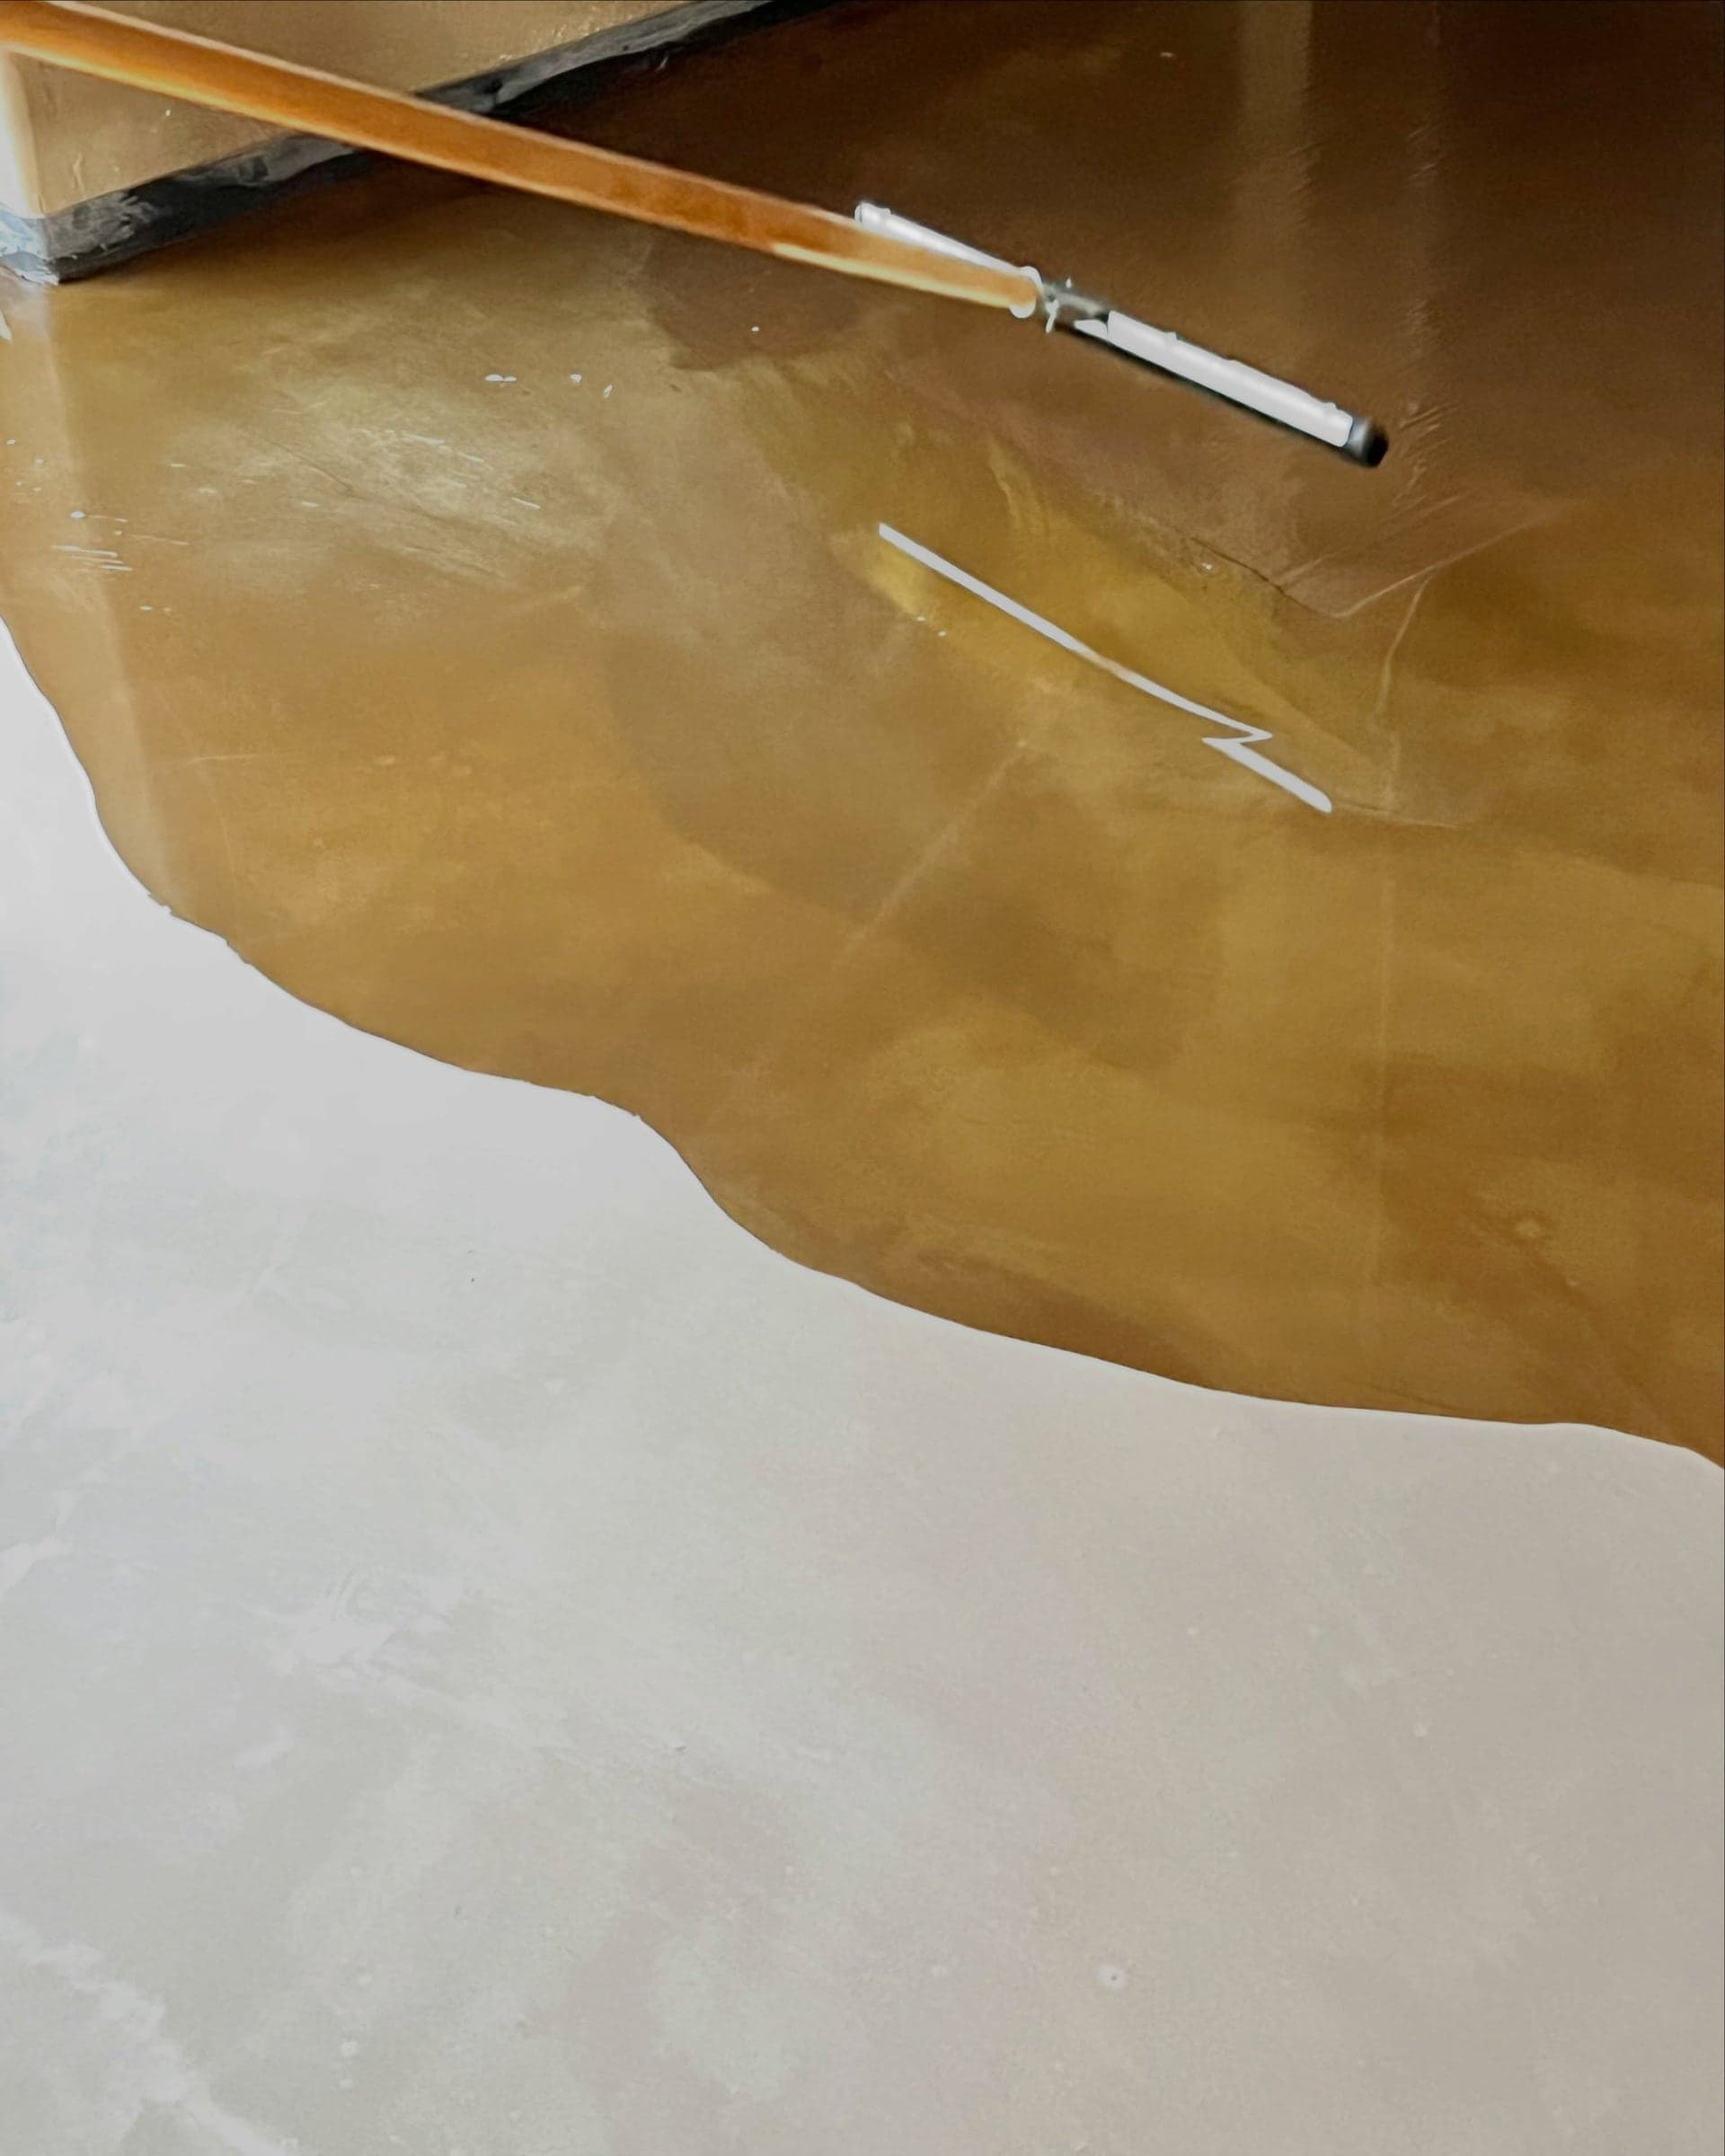
Floor squeegee spreading hard oil on a freshly trowelled Claycasein clay floor in Base
Saturate with hard oil, push it rather than scrape it off, then polish dry.
Backup

If you get stuck, write to us

There is no call centre behind Claycasein. If you get stuck while trowelling, message us on WhatsApp, ideally with a photo. Our application guide has been growing out of that feedback since 2022. The test values for the Base were determined by HAWK Hildesheim: flexural strength 9.2 N/mm² and compressive strength 19 N/mm² to DIN EN 1015-11, bond strength 2.5 N/mm² to DIN EN 1015-12, abrasion 0.01 g and drying shrinkage 1.6 % to DIN 18947. Claycasein is a natural product made from 100 % natural raw materials.

Do not want to do it yourself?

There are only a few professionals for clay casein so far. We are happy to check whether someone near you does trowel work. Or we guide you step by step.

Claycasein application: DIY clay floor in six steps